How to Dry Brush Figurines


Painting with a Sweeping Gesture
Dry brushing: That's the art of dunking something in black paint, then building up color with a nearly dry brush.
Why learn to dry brush? There are many reasons! You can make realistic figures with less skill than you might imagine. You can make upcycled gifts from figures that are old, tarnished, or painted in gaudy 70's colors. Your eight-year-old niece might think that dry brushing is cool. And -- in your eyes or in hers -- the statuettes on thrift store shelves might implore you to bring them home.
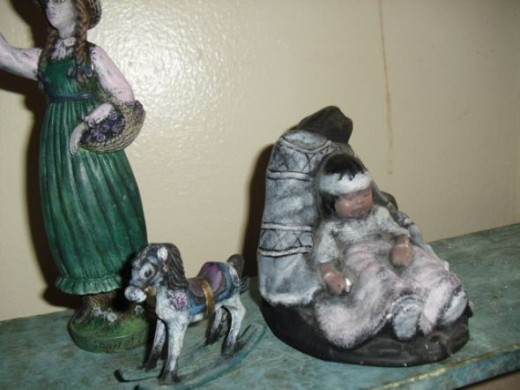
I dry brushed figurines as a summer job back in college. The larger figure that you see here was painted way back then. There was something wrong with that particular figure -- some of the details may not have molded properly -- and so I was given it to take home.
While (alas!) I no longer earn money dry brushing, I still get the urge.The little rocking horses were painted more recently. They were cake decorations that I dressed up and used in a miniature display.
Want to try your hand at dry brushing? Come along! Our first stop will be the thrift store...
Images by the author
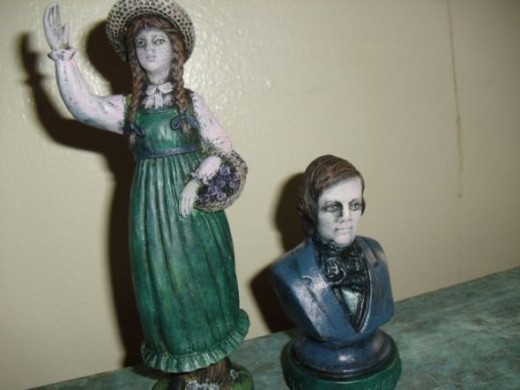
Today's Guides
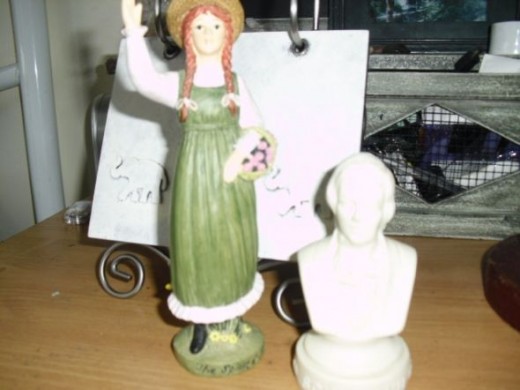
Here are today's guides, Anne of Green Gables and composer Shumann. They appear here in one of their first photo shots after returning from the Capitol Hill Value Village. Anne is waving to her many fans. Shumann is looking more serious.
Options Galore!
As Close as the Nearest Thrift Store
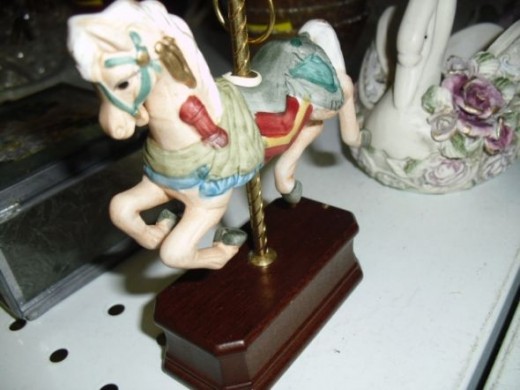
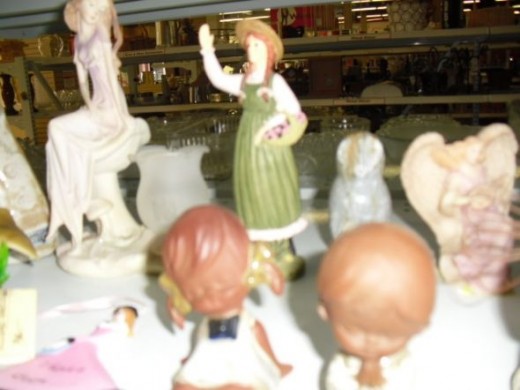
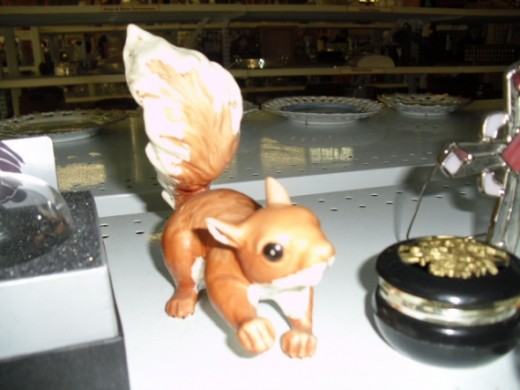
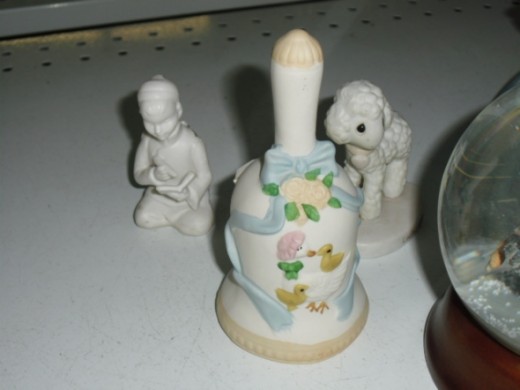
A trip to the thrift store can yield many figurines ready to paint. I spotted all the objects you see below in just one morning at Value Village. Yes, there was a darling little carousel horse! They are my favorite things to paint -- they're attractive and not as difficult as human figures.
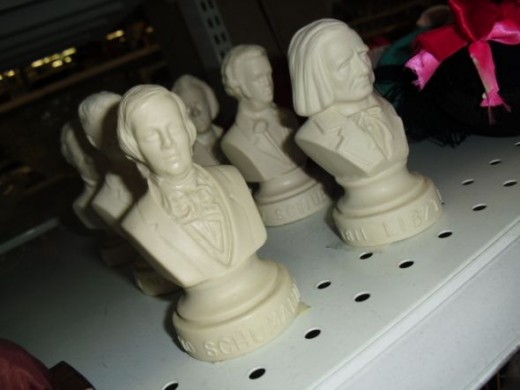
Ah, but there were humans, too. In fact, there was a crew of six composers, made of an unbreakable but rather bland material, and ranging in price from $.99 to $1.99.
Come along, Shumann...


The Basics: Brushes and Brush Techniques
Dry brushing supplies are a bit counter-intuitive. Don't you imagine an airy, soft brush? In reality, you need stiff bristle brushes. Some of them will be a little larger than you might imagine. After all, you don't draw in the individual details when you're dry brushing. Instead, you use a sweeping motion.
There are different brush techniques, but the basic one is to make the motion you would make if you were holding a little hand broom. What happens when you sweep with your brush? The raised areas will get more paint and the recessed areas less. Big brushes are good for creating that effect. (And in the early stages, it's fine to overshoot.)
You'll need several sizes of stiff bristled brush. It's good to have both round and flat. You'll also need softer brushes: mid-size ones for applying the black paint at the beginning and fine tipped ones for drawing in the final details (unless you go for Sharpies).
Stencil Creme: Choosing a Palette
You can use any acrylic paint, but stencil creme is ideal -- at least if you can let the object dry at your leisure. The brush tends to stay pretty dry, and the paint goes on whisper soft. There's a longer open time so you can play with the texture a bit if need be.
If you're unsure about what colors go together, you might want to get a themed palette. Delta makes several. I drew heavily from the floral palette to design Anne's outfit and surroundings. It's a good idea to have some neutrals, too, for things like hair and skin.
One time you won't want to use stencil creme: if you'll be putting your creation through the mail any time in the near future (like, say, next Christmas) As mentioned, it's slow drying.

Assembling the Crafters
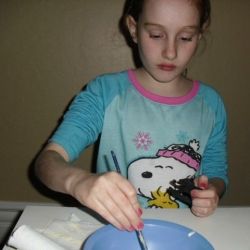
Dry brushing is mainly an adult activity, but it can be taught to teens and mature children. If you have someone with little hands and budding talents, it's especially important that you have the right materials.
Select objects that are small and unbreakable for painting. They should have some molded details, but not too many borders. It's better to have a few sizable blocks of color than lots of little ones. (Lots of texture, on the other hand, can be great!)
Stencil creme is almost a must. When the child runs a brush along a block of solid stencil creme, the brush tends to stay pretty dry. That saves you from having to do a separate lesson in brush handling.
Last Christmas, my eight-year-old niece was gung ho to try, but she petered out without completing her little horse. I credit that largely to the lack of stencil creme. I had only my adult materials,including viscous cream-colored paint that wanted to go on in glops.
What's more, the little rocking horse had many teensy tiny recesses and molded details!
Getting Down to Business: Painting Figures Black
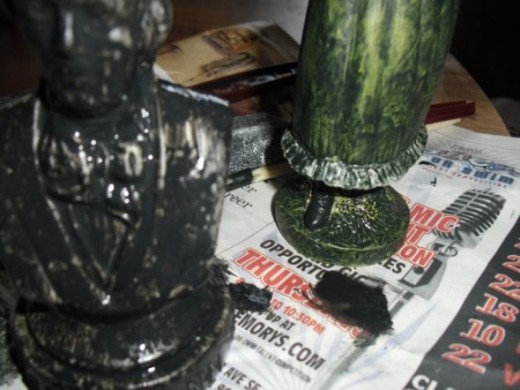
You'll need to paint your object all over black (or another dark color). For this, you use a regular brush and paint -- make sure, in fact, that the paint isn't too thick.
It may take more than one coat, depending on the material. As long as some paint sticks the first time, you're making progress. The next coat should go on much easier.
Beginning to Lay in the Color
Once the black has dried, it's time to lay in the color. Start with the largest blocks of potential color, for example, Anne's dress. It's okay, at this stage, to color outside the lines. Yes, Anne can have green-tinged braids!
Once you move to the small bands of color, you'll want a more petite stiff bristled brush. Flat ones tend to work well.


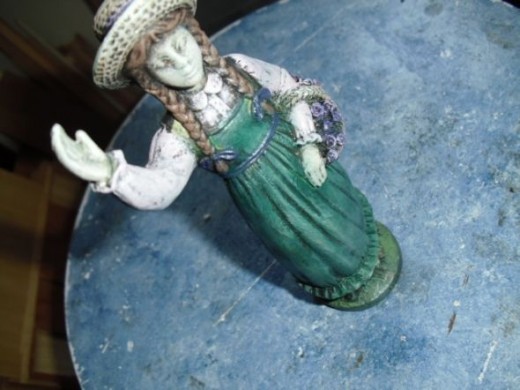

Moving Along...
In the classic technique, you dry brush just one layer of color over the black. It can give more depth, though, to use several. Work from darkest to lightest. You might, for example, layer heather green over dark green. There are multiple tones in Anne's dress.
Anne Gets Ready to Join the Horsies